Showing posts with label Eyeshadow. Show all posts

Monday, 9 December 2013

Urban Decay Vice 2 Palette Review and Swatches

This is my first follow up post to my USA Trip hauls which I recently posted about - click here to visit.

I will be reviewing the Urban Decay Vice 2 Palette. When this first came out I immediately put it on my wish list for my trip coz it looks so pretty. I already have a couple of palettes from Urban Decay: the Original Naked Palette and the Fun Palette. And even though I already have tons of eyeshadows in many different colours I just had to get it. I actually purchased this before I even left Australia because UD had a 20% off Family & Friends sale so I took advantage of this and purchased the palette and sent it to my accommodation at my last stop in the States.

The RRP of this palette is $59 but with the 20% off it was $47.20. I thought this was a great price as it includes 20 eyeshadows and a double ended brush.


PACKAGING

Oh my gosh! I really love the packaging. It's a beautiful gorgeous marbled purple colour. The packaging is made from plastic I think but it feels sturdy. To open the palette there is a button you press and this gently opens the palette. 

The Urban Decay logo is a raised logo with diamond like stone..

There is a large mirror which is the same size as the palette so this is handy if you use this for travelling. 

EYESHADOWS

There are 20 eyeshadows in this palette and there is a variety of colours from blues, purples, pinks, greens and neutral.

The texture for most of the shadows were nice and smooth and the pigmentation for most of the colours were really good and they had good payoff. There were a couple that were less pigmented and were harder to swatch but I will mention it as I go through the swatches.

There were only 2 matte eyeshadows in the whole palette and they are Habit (nude/light beige) and Rewind (neutral brown).  The others were either metallic/frosted finish, satin finish or glittery/shimmers.
I liked most of the colours in the palette but it would've been nice if there were a couple or a few more matte shades or blending shades. 

BRUSH

The palette comes with a dual-sided synthetic brush, one to apply all over the lid and one for blending. With my original Naked Palette I really liked the eyeshadow brush that it came with because it was able to pick up and pack on the eyeshadows evenly. However with this one I did not really like the eyeshadow brush so much as I had to dip it into the colour several times. I liked the blending brush a bit  more though. It is different than other blending brush I have as it's quite narrow so it can apply colour more precisely on the crease. It does blend it nicely but I think if you want to blend it better you will need a fluffier brush.

SWATCHES

So here are the swatches. I took the photos row by row and I took photos of the swatches without and with flash. The top image is the swatches taken without flash and the bottom image is taken with flash.


Row 1: Smokeout, Lovesick, Shellshock, Coax and X-Rated

Out of the 5 eyeshadows in the first row, the last 3 (ShellShock, Coax and X-Rated) have the most pigmentation. I found Lovesick (the 2nd shade - matte black with micro-glitter) didn't have a great payoff and felt very dry. I had to swatch it several times to get the colour to turn up. Smokeout (dark chocolate brown with satin finish) was quite similar but not as bad. 

I wasn't sure about the pinks in this row but after trying it I actually quite like them. Coax was more shimmery and a slightly warmer pink than X-rated which is a satin finish.


Row 2: Prank, Madness, Strike, Stash and Poison

My favourites in this row are Madness and Strike.
I found that Poison was a little dry and you have to swatch it a few times to build up the colour. 


Row 3: Radar, Damaged, Voodoo, Betrayal and Derailed

I love the purples in this row. Betrayal is so gorgeous! It's a duo-chrome bright purple with lilac/blue shift. It's so gorgeous on its own or it works well with Voodoo (Purple with a metallic/frosty finish and glitter). I also love Radar, Damaged and Derailed, all of these colours had really great pigmentation and the texture is smooth and buttery. 


Row 4: Dope, Toxic, Habit, Ambush and Rewind

The last row contained neutral colours. This row has the 2 matte colours, Habit (a nude/light beige) and Rewind (neutral brown). Habit is great for highlighting the brow bone as it matches quite closely to my skin colour. These 2 matte colours has great pigmentation and the texture is so smooth and buttery.
Dope, Toxic and Ambush also had really great colour pigmentation. 


Overall I really like this palette and it's great value for what it costs. I highly recommend it if you are looking for a palette with many different colours or you love colourful eyeshadows. However if you are looking for a more wearable palette for work or everyday wear this might not be for you because there aren't too many neutral shades in this palette.  

Hope you enjoy this review and if you have any questions about this palette feel free to ask me in the comments. I will also try to post some looks and EOTDs using this palette.


Wednesday, 27 February 2013

Birthday dinner - EOTD #8

So this look is very similar or closely similar to EOTD #7 Golden Chocolate which I posted 2 weeks ago. Last Saturday my best friend organised a birthday dinner for me so I wanted to look extra special for this special occasion. Because I worked on that day and I had a very busy day I couldn't think of what to do for my eye makeup. At the end I decided to do something similar to EOTD #7 and do a golden smokey eye look.


For this look I used the Maybelline Colour Tattoo in Bold Gold all over the lid and blended it slightly above the crease. I also applied this on the inner corner of the eyes.
I then applied MAC Cross cultural on the crease and blended this out. I used L'Oreal Infallible Eyeshadow in Endless Chocolate on the outer V to intensify and smoke out the brown. I also applied this colour on the bottom lash line.
To line the eyes I used Maybelline Eye Studio Master Precise Eyeliner. I love this eyeliner as the tip is so pointy and it can create the most precise and thinnest line.
Because it was a special occasion for me I used false lashes and the lashes I used were the Manicare Glam Alicia lashes. I don't usually use falsies since I always have trouble applying them but the Alicia falsies were so easy to apply and they looked natural. I also applied MAC Haute & Naughty mascara to just blend my lashes with the falsies so they look natural.

For the face I used L'Oreal Nude Magique BB cream in Medium and then applied MAC Mineralize SkinFinish Natural in Medium Plus to set it. I contoured my face using Makeup Academy (MUA) Bronzed Perfection Bronzer. For the blush I used MAC Peachtwist and then I finished off by highlighting the top of the cheeks using MAC eyeshadow in Naked Lunch.

And I want to add that I had a great night! We had dinner at a Thai restaurant called Zen Yai and the food there was delicious! I just want to shout out a thank you to all my friends who came and also a BIG THANK YOU to my best friend for organising this dinner.

Tuesday, 12 February 2013

EOTD #7 - Golden chocolate

This morning I wanted to try something different to my everyday look. My everyday look is usually neutral lid and matte brown on the crease using the Naked Palette.


For this look I used 2 eyeshadows. I used Maybelline 24 Colour Tattoo eyeshadow in Bold Gold all over the lid and blend it up slightly just above the crease. Then I used L'Oreal Infallible Eyeshadow in Endless chocolate on the crease. I also applied the chocolate brown along the upper lash line and lower lash line. And lastly I finished off with MAC Haute & Naughty mascara.

This was a pretty quick and easy look to do.

Hope you like it!  

Friday, 1 February 2013

EOTD #5 - Glamorous day/night look

So, I'm sorry that I haven't been posting much. I have been really busy and just after the new year my computer died so I had to wait to get it fixed. And then after I got it bad, I got sick with food poisoning. It hasn't been a very good start to the year. Anyway, after all that I am now back and I hope that I can post more often this year.

Today I did an EOTD look that can be worn for day or night time. You can always intensify this look using false lashes and by adding eyeliner. For this look I used the Savoir Faire Winter Kit eyeshadows and one MAC eyeshadow.


Here are the products used for the Eyes:
  • MAC eyeshadow in Naked Lunch - this was applied all over the lid and blended slightly up to the crease
  • Savoir Faire Spice (burnt orange) - this was blended all over the crease
  • Savoir Faire Kinetic (dark burgundy/purple) - blended on the outer third of the crease
  • Savoir Faire Liberating (deep blue) - applied on the outer v and blended with the crease colour Kinetic. I also smudged this colour along the upper lash line and the lower lash line.
  • Savoir Faire Onyx Eyeliner - tightlined and applied very closely to the upper lash line and on the outer third of the bottom lash line
  • Savoir Faire Devout on the inner corner of the eyes and on the brow bone
  • Maybelline One by One mascara.
Although this was an Eye of the day look I will also list the products I used for my face:
  • MAC Face & Body foundation
  • Inglot Translucent powder
  • Savoir Faire Blush - Devoted
  • Makeup Academy Bronzed Perfection Bronzer 
And lastly for the lips I used Revlon Lip Butter in Pink Truffle.

Hope you like this look!


Sunday, 30 December 2012

EOTD #4 - New Years Eve Party Makeup

So I've been watching a few YouTube videos on New Years Eve Party Makeup and it got me inspired to do one myself. I was particularly inspired by Lisa Eldridge's video on Party makeup.

So here it is:


Products used:

For the eyes:

  • Mirenesse Jumbo Black eyeshadow/liner pencil 
  • MAC Shimmermoss
  • MAC Beauty Marked
  • MAC Cross Cultural
  • Ben Nye Lumiere Lux Shimmer Powder in Ice
  • Rimmel Soft Kohl Kajal Eye Pencil in Royal Blue
  • Maybelline Master Precise Liquid Eyeliner
  • Maybelline One by One mascara
For the face:
  • MAC Studio Fix Fluid Foundation NC30
  • Inglot AMC Face Blush (Liquid Blush) in shade 81
  • Benefit High Beam


So to do the eye makeup I started by putting on the jumbo black eyeshadow pencil all over the lid as a base. You can use any black kohl eyeliner, black cream eyeshadow or even MAC Blacktrack fluidline. I then use a fluffy brush like MAC 217 to just blend it up a bit towards the crease.

Then I apply MAC Shimmermoss all over the lid. Then on the crease I mixed a bit of MAC Beauty Marked (a black red eyeshadow) and Cross Cultural (a matte dark brown) and apply on the crease blending it in with the turquoise eyeshadow. I also applied Ben Nye Lumiere Luxe Shimmer Powder all over to give it a beautiful shimmery look and then I applied a thin line of liquid eyeliner along the lash line and winged it out a little.

On the bottom lash line I applied Rimmel soft kohl kajal eye pencil in Royal Blue along the lash line and then smudged a black kohl eye pencil on the outer third. I finished off by applying several coats of mascara. If you want, you can use fake lashes to give it a more dramatic look but I didn't have time so I just applied mascara.

And that is it. I think this look is quite easy to achieve and if you don't have the same colours, you can always play around and try using different colour.

And I just want to wish everyone a Happy New Year!! Wishing you all a safe and happy 2013!

December 2012 Bella Box and Savoir Faire Winter Kit Swatches


So I was really excited in getting the December Bella Box since I read on Beautyheaven forums that there was something in it that's worth $110. When I opened it I was happy with the contents.


There was only 1 full size product in the box and that was the Savoir Faire Limited Edition Kit in Winter. The other products that was in the box were samples. There was EmerginC moisturiser and cleanser, Allegra Rhodes Hand and Nail Cream (in Red Lychee), John Frieda Frizz-Ease Secret Weapon Finishing Creme and Compeed blister patch.

So far I have only tried the hand cream and the Savoir Faire Kit. The hand cream is nice and has a beautiful lychee scent.  I'm not sure if I will buy the full size though since I already have plenty of hand creams

Now, the Savoir Faire Winter Kit. The kit contains 6 eyeshadows, a blush, a sheer lip gloss, a black mini pencil eyeliner and a mini mascara.


This is the ingredients list:
The kit also came with 3 day to night face charts but I haven't tried them yet. I have however used the eyeshadows with other eyeshadows. The only item I haven't tried is the mascara.

I have swatched the eyeshadows and blushes and they are pigmented and the colours are beautiful. I think if you want to experiment and play around with colours, this is the palette to go too. The only neutral colour is Devout which is a creamy golden colour.


Eyeshadow swatches with flash: Devout, Spicy, Kinetic, Liberating, Immortal and Vivacious

Eyeshadow swatches without flash: Devout, Spicy, Kinetic, Liberating, Immortal and Vivacious
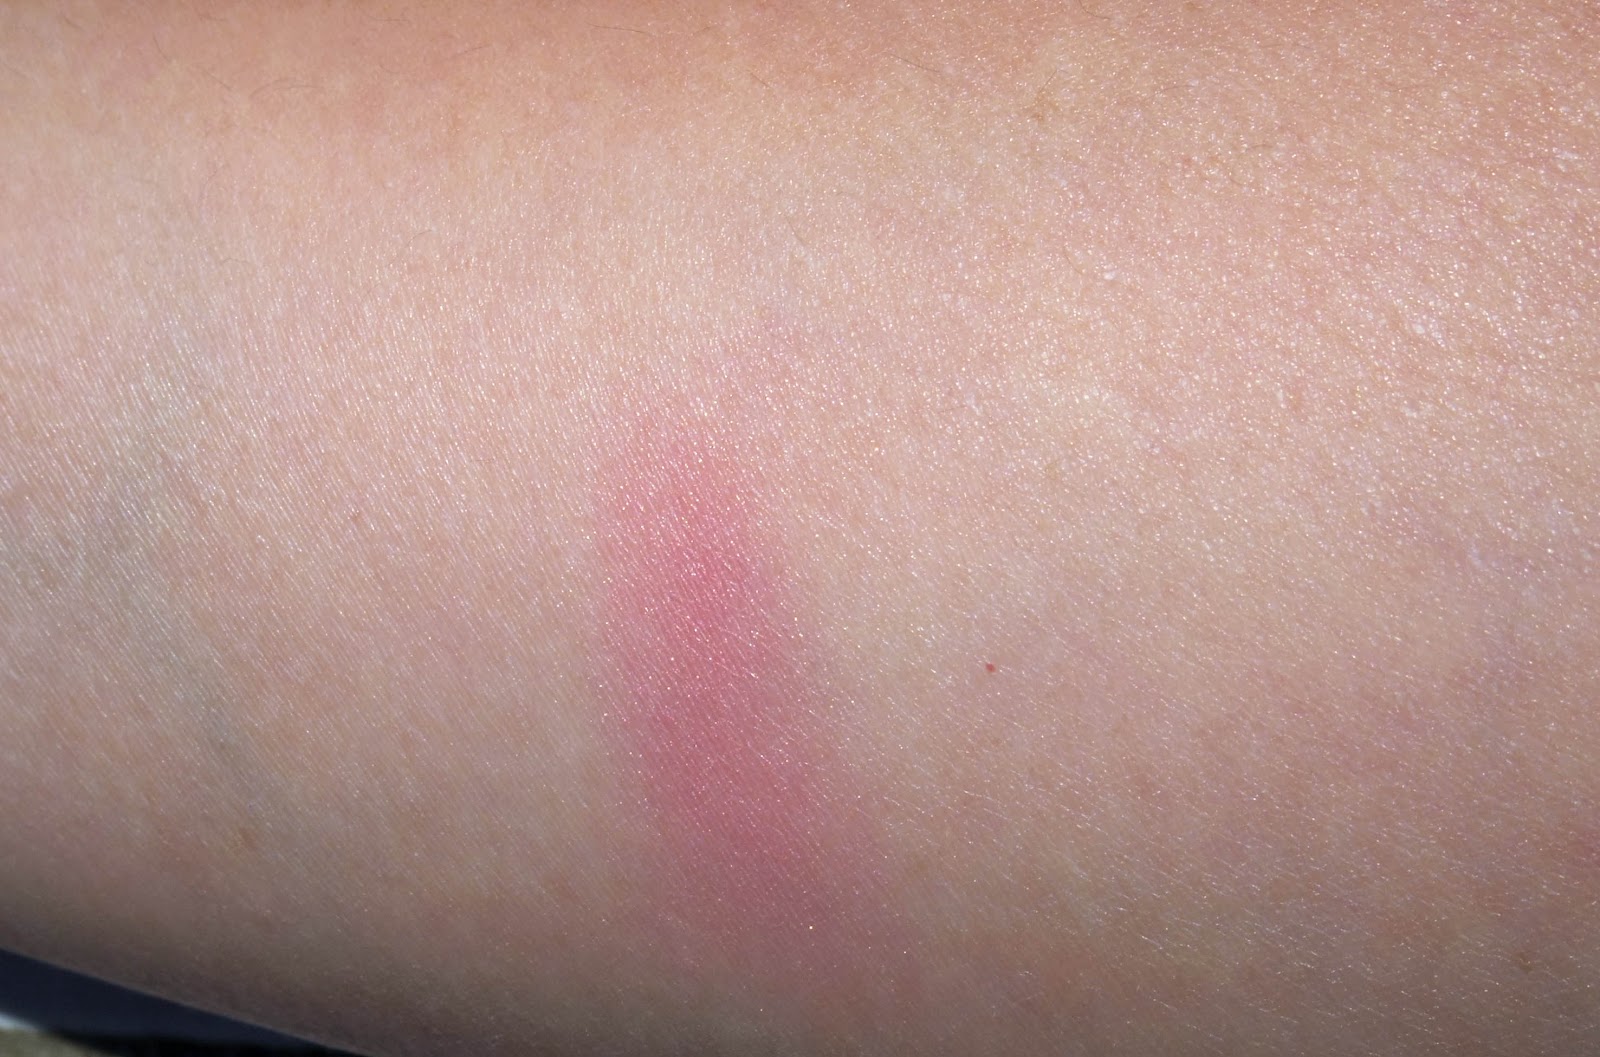
The blush was a really lovely soft pink colour and it's pigmented too but you can apply it sheerly and build it up as desired. It's got a slight shimmer to it (you can see it in the swatches with flash).

Blush swatch without flash

Blush swatch with flash
So that's December Bella Box. This is my second box I've received since I started subscribing in November. I'm not sure if I  will continue the subscription for long. I think I will cancel it after I receive the January box. Even though I've been happy with what I've received, I think I need to use up all the products that I have before piling up my shelf with more products.

Monday, 24 December 2012

EOTD #3 - Bronze/copper smokey eye

Today I did a Bronze smokey eye look. I was inspired by a video by a youtube makeup guru, xteeener, on a sunkissed makeup look but I was particularly inspired by the coppery smokey eye she did. Here is the link to the video: http://youtu.be/Erat11fIw80

Anyway, since I didn't have the exact colour of the eyeshadow that xteeener used in the video  tute above I decided to just play around with colours that I have.

Here is the photo of the eyes:


I started by applying a black pencil eyeliner on the lash line. I did quite a rough thick line. I also lined my bottom waterline and lash line. I then used a pencil brush and smudged out the black liner.

Over the liner and all over the lid I applied MAC eyeshadow in Bronze. I also applied another eyeshadow on top of that to just make it more coppery and that was an eyeshadow from the Savoir Faire limited ed Winter kit in the colour spicy (which was a burnt orange colour).

Then on the crease I applied MAC eyeshadow in Cross Cultural (a matte dark brown colour) and then finally I applied Immortal from the Savoir Faire kit on the outer V to deepen and define the eyes.

I also took the MAC Bronze and Savoir Faire Spicy down on the lash line just to add a bit of colour. I didn't add any more liner to my top lash line, just added it on the waterline and tight line my top lash line since the look was already quite intense.

I finished it off by applying Maybelline One by One Mascara.


So above is the finished look. On my face, I just applied Bourjois Healthy Mix Serum foundation, MAC Peachtwist blush and MUA (Makeup Academy) Bronzed Perfection Bronzer to contour my face and to give that sunkissed look. I was going to use a nude or natural lipstick but I forgot... woops!

Anyway, I hope you like this EOTD look. I really had fun doing this look!

EOTD #2 - Giorgio Armani Eyes to Kill Eyeshadow #27

Earlier last month I reviewed the Giorgio Armani Eyes to Kill eyeshadow in shade #27 which I purchased on my trip in Singapore.

In this EOTD I just simply used the one Giorgio Armani eyeshadow. I didn't want to use any other shades since this shade is just so beautiful on its own. It's a really nice mix of pink taupey colour. I used a blue eyeliner just to add some colour, I think it was a Revlon eyeliner.


Friday, 9 November 2012

Giorgio Armani Eyes to Kill eyeshadow - Aqua collection

So sorry I have been on hiatus. I'm now back from holiday and started a new job so hopefully I will be able to start blogging regularly again.

Anyway while I was overseas I bought a Giorgio Armani Eyes to Kill eyeshadows from the Aqua collection in number 27. I also wanted to buy the Eyes to Kill mascara but unfortunately it was all sold out, so I got a MAC Haute & Naughty mascara instead (I'll post a review to this in a separate post).


Swatches without flash

Swatches with flash
The Giorgio Armani Eyes to Kill eyeshadows are supposed to be a hybrid of cream and powder shadows. They are supposed to last 24 hours and are waterproof and can be applied dry or wet.
The shadow comes in a heavy glass pot and it has got a stopper inside to press down on the pigments.

The eyeshadow are so intensely pigmented. You do not need much at all to apply all over your lid. The shade #27 is so beautiful. It's a bit hard to explain but in the pot you can see shades of muted pink/plum mixed with silvery taupe colour. And when applied on the lid it mixes beautifully. The shadow doesn't crease and last all day. I don't know if it does last for 24 hours but it lasts me more than 9 hours without creasing. 

Unfortunately these eyeshadows are not yet available in Australia. I bought it when I was in Singapore for SG$41 which is around AU$33. It was more expensive than some eyeshadows that I purchased but it was worth it. I kinda regretted only buying 1 shade but I do have tons of eyeshadows already. 
Next time I go overseas I will definitely purchase other shades.


Wednesday, 18 July 2012

Maybelline Color Tattoo 24hr Eyeshadow - Bad to the Bronze

So I have been waiting for the release of Maybelline Color Tattoo in Australia and it finally came last week. However, since I was sick for most of last week I didn't get to go to buy it until the weekend and everything was gone except for Fierce and Tangy (orange) and Bad to the Bronze. I decided to buy Bad to the Bronze because it's a neutral and versatile colour.

I bought the eyeshadow from Priceline and they had this on special for $10.75 which is pretty good for a cream eyeshadow. First look at the product, the container is a glass packaging and it feels quite solid. I think it's very similar to MAC Paint Pot but the price is much cheaper and affordable. I like how the packaging is made of glass because it feels more solid and not cheap.

Now the application of the eyeshadow itself. The eyeshadow can be easily applied using your finger but you can also apply it with a brush. I used my MAC 217 fluffy brush to apply it all over the eyelid and also on the crease. It applies very smoothly so I was very happy with the consistency and creaminess of the eyeshadow. It's also blendable if you work with it quickly. Bad to the Bronze is a nice neutral colour so I can use this by itself or as a base or even on the crease with a lighter shadow all over the lid. Since I've bought it I have used it everyday and I love it.

These cream shadows are supposed to last 24 hours but I can't comment on this because I do not wear make up for 24 hours let alone more than 12 hours. However I have found from applying it in the morning it has last me at least 8-10 hours with no creasing or fading so it's definitely long lasting. However, I have been using Urban Decay Primer Potion on my lids before applying the eyeshadow. I will try it next time without the primer to see whether it still lasts 8 hours on my lids.

Overall this product is amazing and I'm very impressed! I would give it 10 out of 10 because it's long lasting, applies smoothly and is very cheap, especially compared to MAC Paint Pot.

I would definitely consider trying out the other colours, in fact Priceline is having a better special on these shadows this week only $7.95. I will buy more colours and will post photos and swatches on the new colours I will buy. 

So what are your thoughts on the Maybelline Tattoo Colour eyeshadows?