Sunday, 30 December 2012

EOTD #4 - New Years Eve Party Makeup

So I've been watching a few YouTube videos on New Years Eve Party Makeup and it got me inspired to do one myself. I was particularly inspired by Lisa Eldridge's video on Party makeup.

So here it is:


Products used:

For the eyes:

  • Mirenesse Jumbo Black eyeshadow/liner pencil 
  • MAC Shimmermoss
  • MAC Beauty Marked
  • MAC Cross Cultural
  • Ben Nye Lumiere Lux Shimmer Powder in Ice
  • Rimmel Soft Kohl Kajal Eye Pencil in Royal Blue
  • Maybelline Master Precise Liquid Eyeliner
  • Maybelline One by One mascara
For the face:
  • MAC Studio Fix Fluid Foundation NC30
  • Inglot AMC Face Blush (Liquid Blush) in shade 81
  • Benefit High Beam


So to do the eye makeup I started by putting on the jumbo black eyeshadow pencil all over the lid as a base. You can use any black kohl eyeliner, black cream eyeshadow or even MAC Blacktrack fluidline. I then use a fluffy brush like MAC 217 to just blend it up a bit towards the crease.

Then I apply MAC Shimmermoss all over the lid. Then on the crease I mixed a bit of MAC Beauty Marked (a black red eyeshadow) and Cross Cultural (a matte dark brown) and apply on the crease blending it in with the turquoise eyeshadow. I also applied Ben Nye Lumiere Luxe Shimmer Powder all over to give it a beautiful shimmery look and then I applied a thin line of liquid eyeliner along the lash line and winged it out a little.

On the bottom lash line I applied Rimmel soft kohl kajal eye pencil in Royal Blue along the lash line and then smudged a black kohl eye pencil on the outer third. I finished off by applying several coats of mascara. If you want, you can use fake lashes to give it a more dramatic look but I didn't have time so I just applied mascara.

And that is it. I think this look is quite easy to achieve and if you don't have the same colours, you can always play around and try using different colour.

And I just want to wish everyone a Happy New Year!! Wishing you all a safe and happy 2013!

December 2012 Bella Box and Savoir Faire Winter Kit Swatches


So I was really excited in getting the December Bella Box since I read on Beautyheaven forums that there was something in it that's worth $110. When I opened it I was happy with the contents.


There was only 1 full size product in the box and that was the Savoir Faire Limited Edition Kit in Winter. The other products that was in the box were samples. There was EmerginC moisturiser and cleanser, Allegra Rhodes Hand and Nail Cream (in Red Lychee), John Frieda Frizz-Ease Secret Weapon Finishing Creme and Compeed blister patch.

So far I have only tried the hand cream and the Savoir Faire Kit. The hand cream is nice and has a beautiful lychee scent.  I'm not sure if I will buy the full size though since I already have plenty of hand creams

Now, the Savoir Faire Winter Kit. The kit contains 6 eyeshadows, a blush, a sheer lip gloss, a black mini pencil eyeliner and a mini mascara.


This is the ingredients list:
The kit also came with 3 day to night face charts but I haven't tried them yet. I have however used the eyeshadows with other eyeshadows. The only item I haven't tried is the mascara.

I have swatched the eyeshadows and blushes and they are pigmented and the colours are beautiful. I think if you want to experiment and play around with colours, this is the palette to go too. The only neutral colour is Devout which is a creamy golden colour.


Eyeshadow swatches with flash: Devout, Spicy, Kinetic, Liberating, Immortal and Vivacious

Eyeshadow swatches without flash: Devout, Spicy, Kinetic, Liberating, Immortal and Vivacious
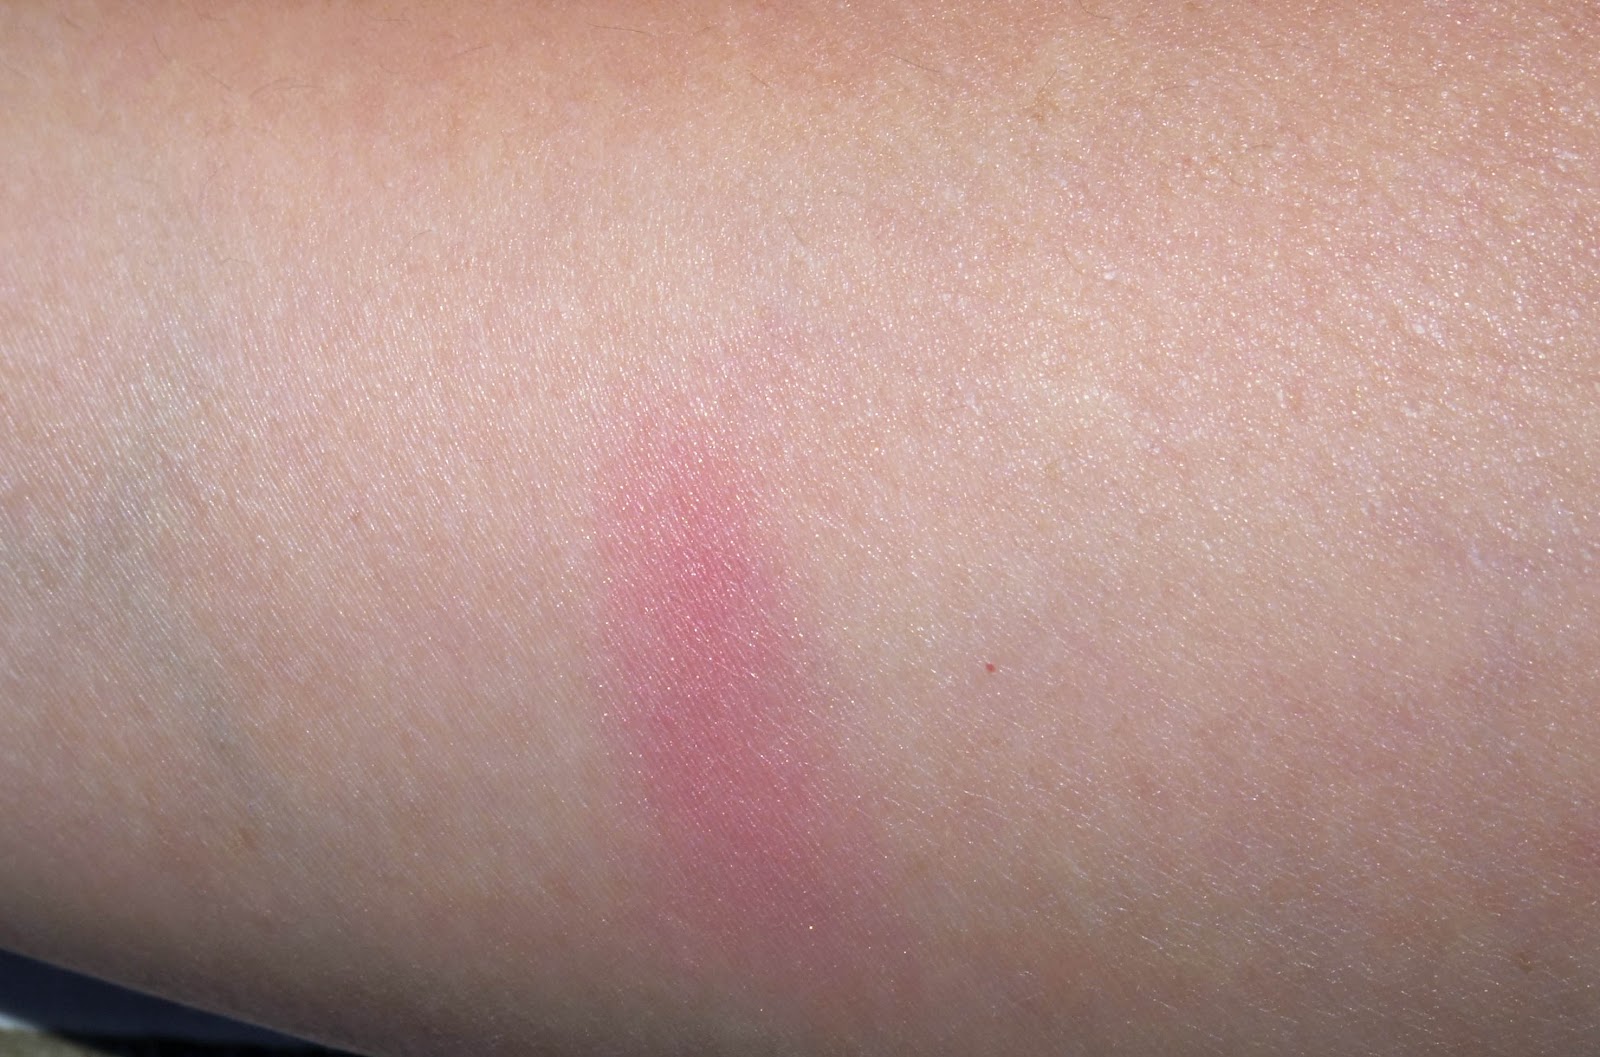
The blush was a really lovely soft pink colour and it's pigmented too but you can apply it sheerly and build it up as desired. It's got a slight shimmer to it (you can see it in the swatches with flash).

Blush swatch without flash

Blush swatch with flash
So that's December Bella Box. This is my second box I've received since I started subscribing in November. I'm not sure if I  will continue the subscription for long. I think I will cancel it after I receive the January box. Even though I've been happy with what I've received, I think I need to use up all the products that I have before piling up my shelf with more products.

Thursday, 27 December 2012

BYS Magnetic Nail Polish Review

So a couple of weeks ago when I had training from work, I went past KMart at lunch time. While I was looking around I found this BYS brand makeup. I have heard of it before but I've never tried it. Since I already have tons of make up I decided not to get anything.... that is until I saw the BYS Magnetic Nail Polish. Plus it was only $4, so I thought why not! I've been meaning to buy a magnetic nail polish since it came in trend in the past few months so this was a good chance to try them out.

The colour I purchase was a purple or violet colour. I love purple and the only other shades that was available was a dark grey silver and a dark green colour.

Even though I had bought this a couple of weeks ago I haven't had the chance to try out the polish. And since my Christmas day was a quiet day I decided to try it out then. I was very happy with how it turned out, although with my first application I accidentally put my nails too close to the magnet and smudged it all over the magnet but I got a hang of it after a couple of applications.

Here is the final result:
BYS Magnetic Nail Polish (without flash)
BYS Magnetic Nail Polish (with flash)
I really liked how it turns out so I might buy some more if I can find nicer shades/colour that I like. I might also try other brands to see if the magnet has different patterns.

Have you tried any magnetic nail polish yet? Do you like them? Let me know what you think or if there are better magnetic nail polish with cooler patterns, please leave a comment.

MUA Professional Brow Kit Review

So earlier in the week I posted my MUA haul and one of the products that I purchased was the Professional brow kit.

The first thing I noticed when I was about to buy the brow kit was that it only came in the one colour group. There was no different variations of the kit, just the one.

The kit contains:

  • 2 different brown shades of brow powder
  • 1 matte neutral highlight shade
  • 1 wax/gel to set the eyebrow powder and set brows into place
  • 1 two sided angled eyebrow brush/applicator
  • 1 mini tweezer
Considering what you get in the brow kit, it is actually a pretty compact kit that you can easily carry around in your handbag or in a small makeup bag for travelling.

Below are the swatches of the brow kit (Top - with flash; Bottom - without flash):

From L to R: Neutral matte highlight shade (bottom left of the kit), Light brown brow shade (top right of the kit), Dark brown brow shade (top left of the kit)


All 3 of the powders in the kit are quite pigmented. At first I thought this brow kit would not suit me since my natural hair colour is black but surprisingly the dark brown powder blended well with my eyebrow and did not look unnatural at all. I found what worked best for me was to apply the brow powder first to fill and define the eyebrow and then use the gel/wax over it to set it in place and to intensify it. If needed, I go back in again with the brow powder just to add depth and intensity. I sometimes also do it the other way around. It is up to you really what works best for you.


Although the 2-sided brush that came with the kit didn't seem like it was a dense angled brush it works quite well in applying the brow powder and gel. With the gel/wax,  I actually really like the consistency of the wax and you don't need much at all to use it and it does not come out too greasy. And finally the mini tweezer that came in the kit is not too bad. It is quite useful when you want to pluck a couple of stray hair but I don't think I would be using it for more than a couple of stray hairs as it is quite a small tweezer.

Overall, I really love this brow kit and recommend anyone to buy this if they are looking for an eyebrow kit. Especially for the price of £3.50 (around AU$5.45) it's a really great buy! You can get the brow kit from the MUA Online shop and they do have free shipping and occasional discounts.

Monday, 24 December 2012

EOTD #3 - Bronze/copper smokey eye

Today I did a Bronze smokey eye look. I was inspired by a video by a youtube makeup guru, xteeener, on a sunkissed makeup look but I was particularly inspired by the coppery smokey eye she did. Here is the link to the video: http://youtu.be/Erat11fIw80

Anyway, since I didn't have the exact colour of the eyeshadow that xteeener used in the video  tute above I decided to just play around with colours that I have.

Here is the photo of the eyes:


I started by applying a black pencil eyeliner on the lash line. I did quite a rough thick line. I also lined my bottom waterline and lash line. I then used a pencil brush and smudged out the black liner.

Over the liner and all over the lid I applied MAC eyeshadow in Bronze. I also applied another eyeshadow on top of that to just make it more coppery and that was an eyeshadow from the Savoir Faire limited ed Winter kit in the colour spicy (which was a burnt orange colour).

Then on the crease I applied MAC eyeshadow in Cross Cultural (a matte dark brown colour) and then finally I applied Immortal from the Savoir Faire kit on the outer V to deepen and define the eyes.

I also took the MAC Bronze and Savoir Faire Spicy down on the lash line just to add a bit of colour. I didn't add any more liner to my top lash line, just added it on the waterline and tight line my top lash line since the look was already quite intense.

I finished it off by applying Maybelline One by One Mascara.


So above is the finished look. On my face, I just applied Bourjois Healthy Mix Serum foundation, MAC Peachtwist blush and MUA (Makeup Academy) Bronzed Perfection Bronzer to contour my face and to give that sunkissed look. I was going to use a nude or natural lipstick but I forgot... woops!

Anyway, I hope you like this EOTD look. I really had fun doing this look!